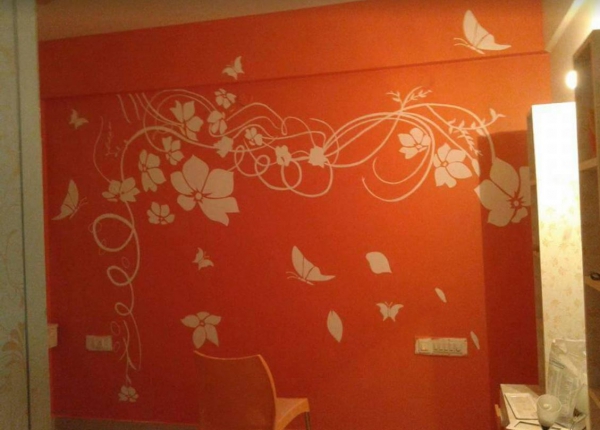
Refresh your home with a fresh coat of interior paint. The color of the walls in a home can make it feel inviting or gloomy. Wall colors completely enhance the beauty of the interior. Most people do not realize, how applying a coat of interior paint can freshen up the apartment. This is why many people feel a bit perplexed when they are looking at paint samples and deciding the color of the interior paint. We recommend you should take time to decide on colors and ask for as many samples till you are 100% sure & satisfied with the interior paint colors and just leave it for our professional interior painters.
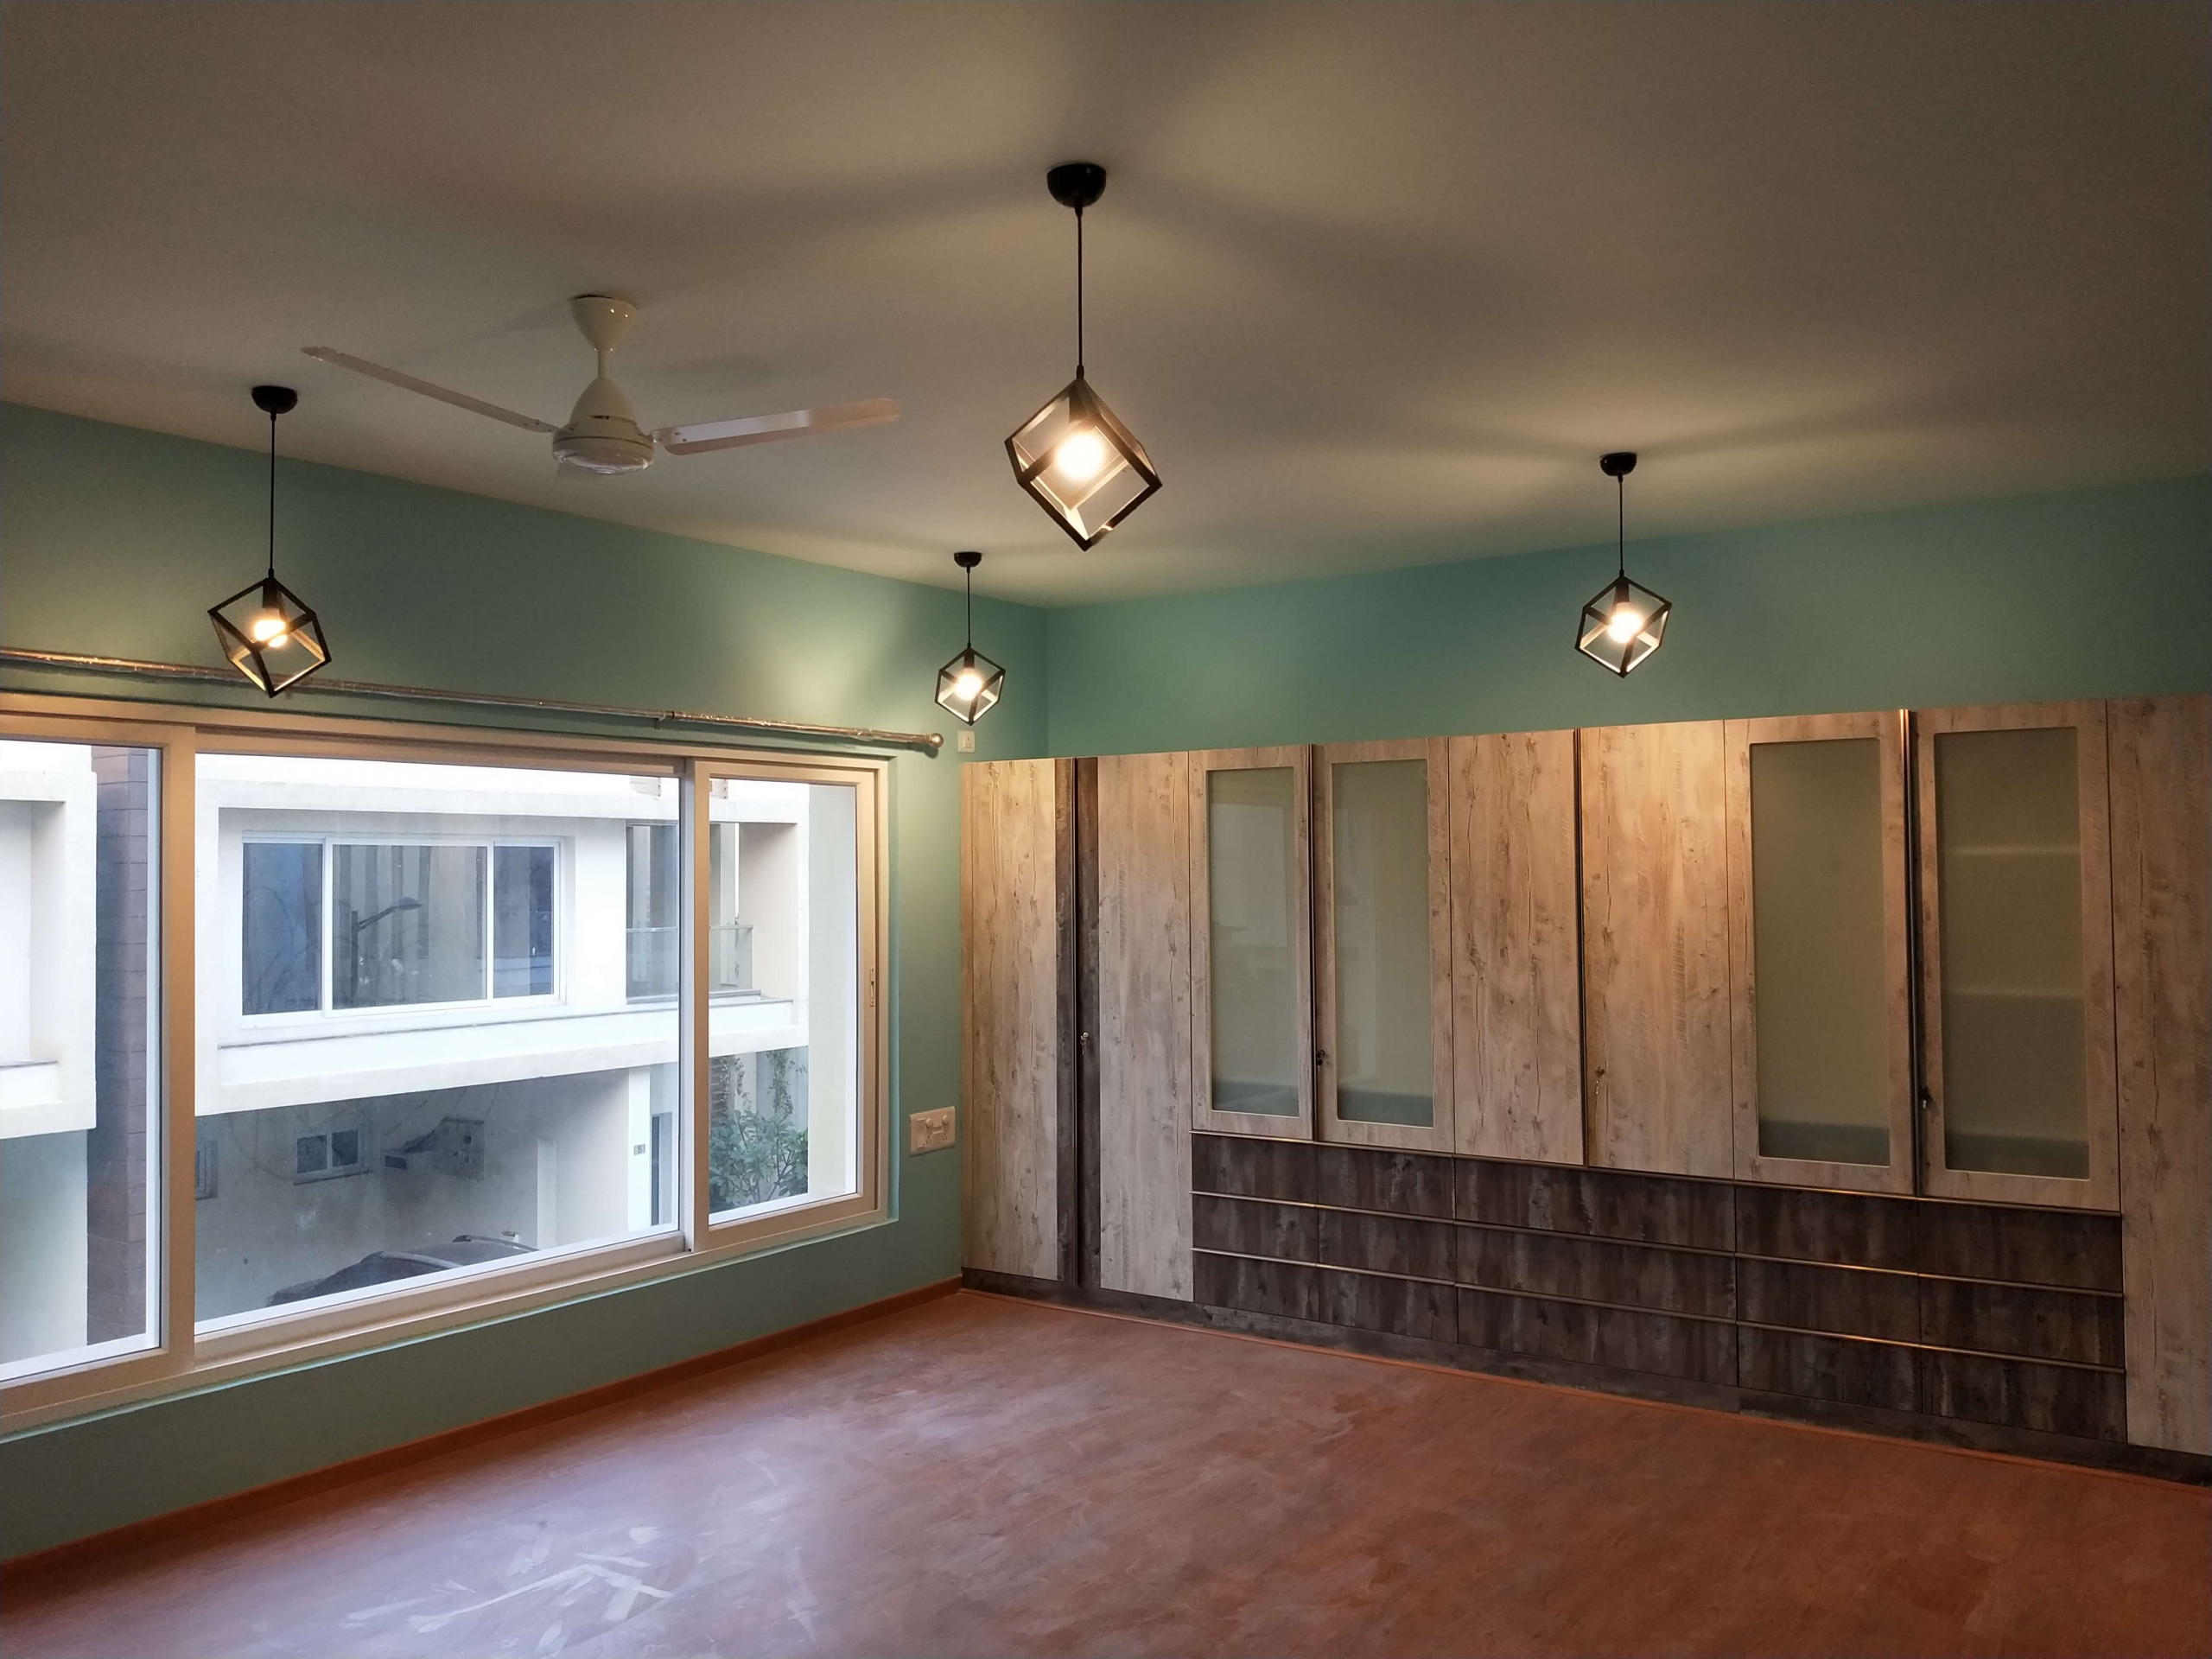
OUR RECENT PROJECTS click to view more…

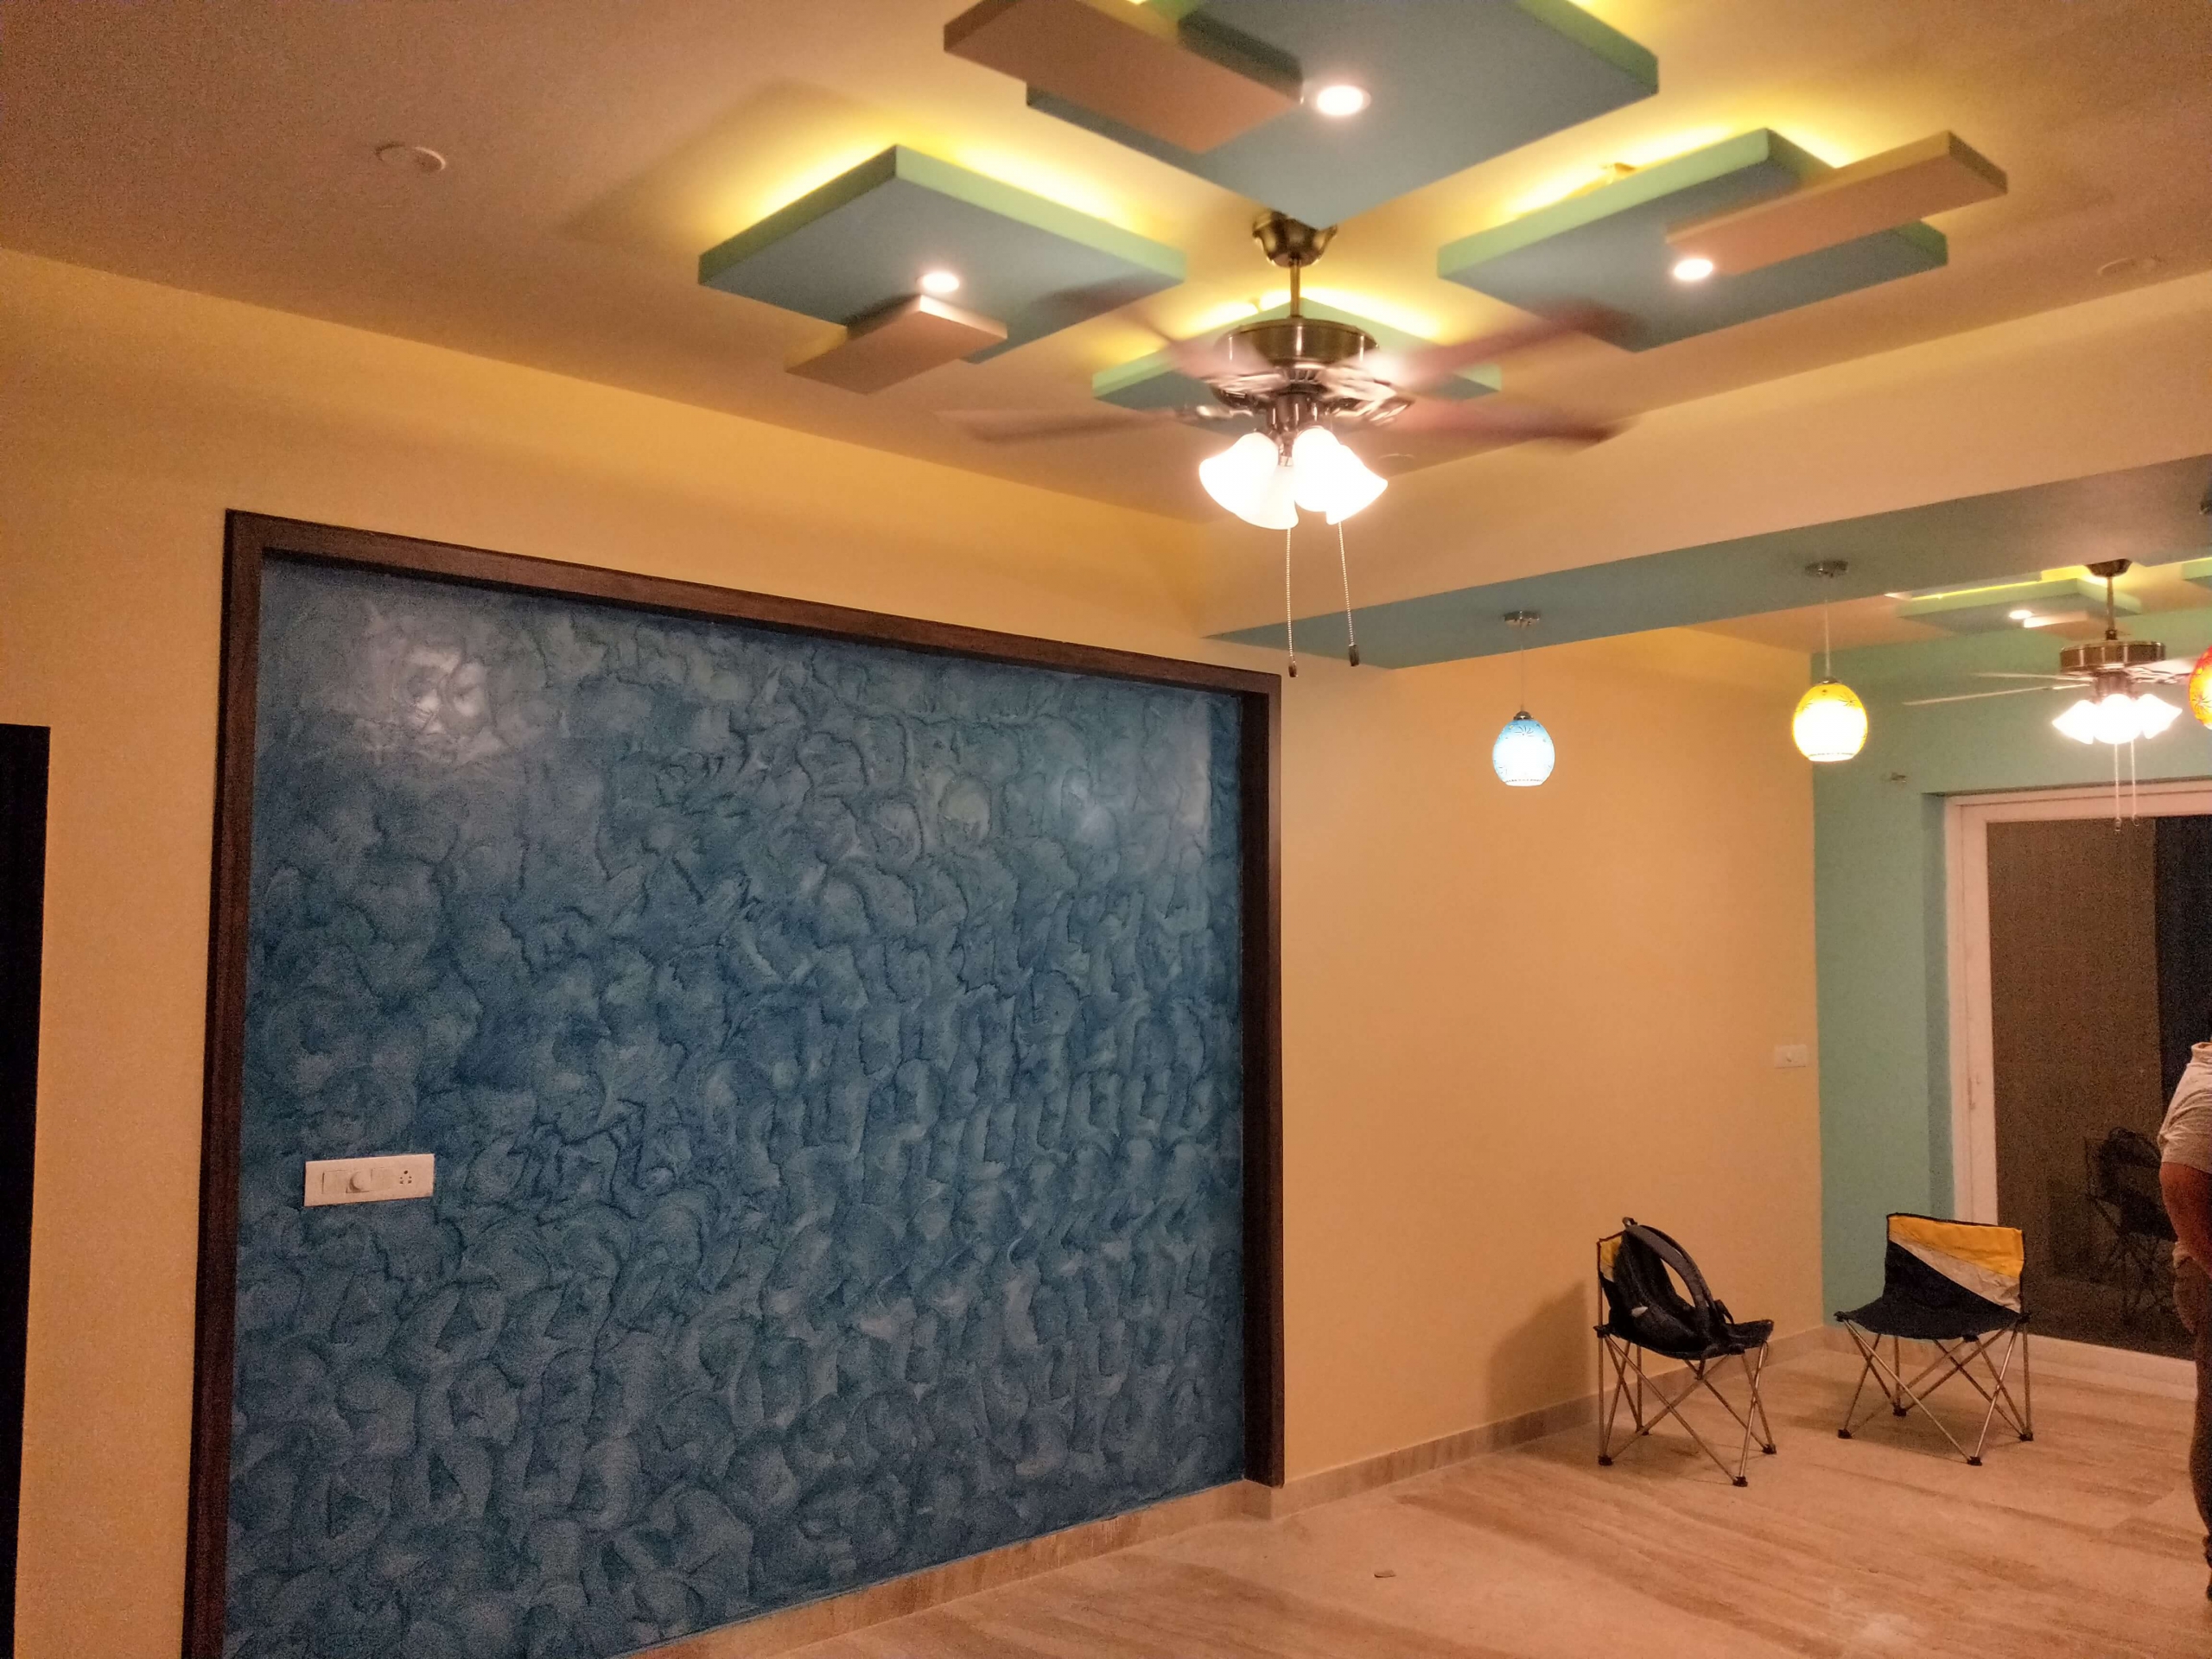
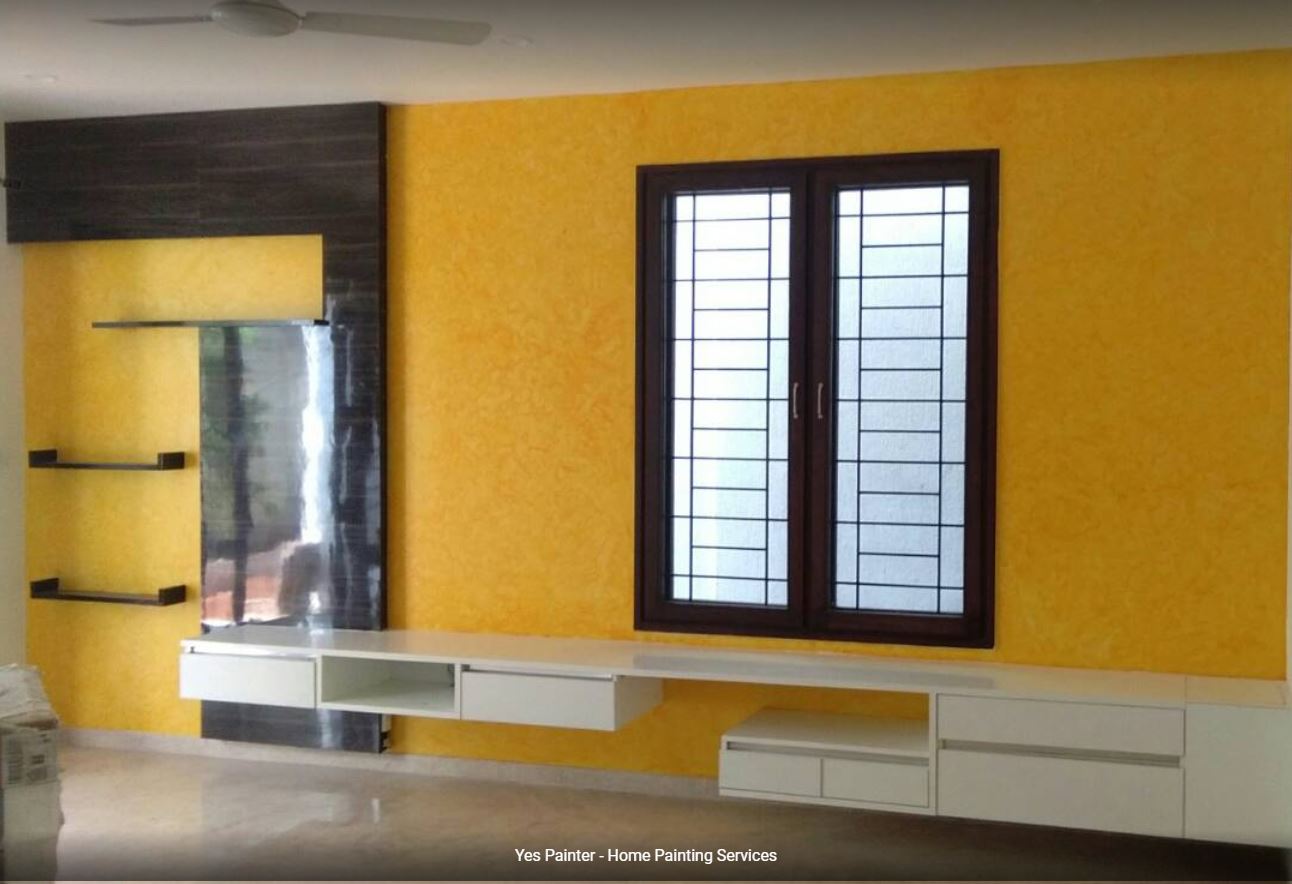
4 Points to keep in mind before Interior House Painting –
1. It is important to prime the walls.
· Some paints come already mixed with a primer, others do not not. Be sure to ask your paint supplier for the paint specifications before paying for it. If the paint isn’t already mixed with a primer, it is important that you start by priming the walls in order to cover up existing stains and/or colors. That will allow the top coat paint to stick better for flawless results.
2. Use latex paints.
· These are water-based house paints. You can use these paints on the exterior walls, but they are most ideal for indoor walls. Their unbeatable colour-retention, fast-drying, and environment- friendliness properties also make them great for indoor painting. They are also able to withstand moisture, for example in the kitchen, bathroom, and laundry room. Latex paints do not produce bad odours to the extent that oil-based paints do.
3. It helps when you prep the room first.
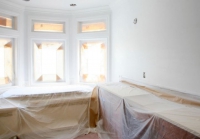
· Get everything out of the way before embarking on the painting process. This means getting all the furniture away from the walls and covering them up using plastic sheets, old newspapers, or drop cloths. You will also need to fill any cracks on the wall with spackling.
4. Boxing is great for uniformity.
· Sometimes you can paint the walls with the same colour but end up with inconsistent colour intensity. In most cases, this comes as a result of unevenly mixed paint gallons. Instead of painting a gallon at a time, it is best that you pour all the gallons into a larger bucket and stir everything up for a smooth, uniform, and more consistent colour. Ensure that the bucket is seal-able.
We are locally recognized as
Best practices for Interior Wall Painting –
1. Only paint properly cleaned walls
2. when the weather is extreme avoid house painting
3. Painting rotten siding is a waste of time and money
4. Use oil-based paints
5. Buy high-quality brushes, roller covers, and painter’s tape
If you’re splurging on great paint, you definitely don’t want to pinch pennies on the application. Good brushes and roller covers give excellent coverage so that you don’t waste time and paint on re-application, and high-end painter’s tape is the real deal when it comes to sealing out drips and blurs.
6. Know your nap
The more texture your walls have, the thicker the nap you’ll want on your roller cover so that it can reach into crevices and give complete coverage. But if you go too thick, you might actually create texture where you don’t want it, so be prepared to give your salesperson details about what you’re painting.
7. Protect anything you don’t want painted
You will never regret the time you spend covering floors, furniture, and hardware before you begin a paint project.
Drop cloths are a must, and small plastic sandwich bags secured with tape are an easy way to protect doorknobs.
8. Use primer
Paint-and-primer combinations are fine if you already have a clean, smooth surface, but if there are any issues with the wall or it’s
been more than eight years since you last painted, bite the bullet and go with a separate primer. If you need to cover an especially
challenging surface (say, glass or high-gloss paint), use a bonding primer such as Benjamin Moore’s Insl-x Stix Waterborne Bonding Primer or
KILZ Adhesion Interior & Exterior Bonding Primer.
9. Box your paint
Get your salesperson to help you with a realistic estimate of how much paint you’ll really need so that you can buy it all at once.
Then, instead of using one gallon at a time, combine all the paint into one large container and mix it thoroughly. This is known as “boxing” your paint, and it keeps your color consistent from beginning to end.
10. Let the roller do the work
Today’s premium paints flow on easily, and you’ve already chosen a good roller cover (right?), so there’s no need to use much pressure. Be sure to use an extension pole so you can reach the maximum amount of area with the least effort — and without straining your back.
11. Paint from top to bottom
After you’ve cut in your edges at the ceiling and baseboard using a brush, use your roller to apply paint from the ceiling downward.
Amateurs often have telltale drips and spatters at the end of a paint job, but pros paint right over their mistakes as they work their way down
the wall. Once an area starts to dry, it’s best to leave it alone. Going back over it can leave marks and color streaks in the paint’s surface.
He showed up the same day I called for an estimate and was very reasonably priced. We are fully satisfied with their works on interior painting of our house.We appreciate and strongly recommend this company.
After the Interior Work, we need a quick coat of paint as we need to move in fast. We engaged Yes Painter and they provided and completed the Job on time with an economical budget. Thanks for Painting our apartment.
We are just one click away!
Fill a form or call 888-4714-777 and we will reach you promptly.
Telephone No.8884714777


